Create Daily Vlog Voiceovers with Text-to-Speech AI on CapCut PC
If you’re a vlogging enthusiast but don’t like using your own voice, you’re not alone. Most creators shy away from using voiceovers due to background noise, not having recording equipment, or just shyness in front of cameras.
But that doesn’t mean your vlogs must remain silent. With CapCut PC’s text-to-speech function, you can add voice to your lifestyle vlogs without opening your mouth once.
This feature assists you in transforming your texted script into smooth, crisp audio that suits your video. It is ideal for YouTube, TikTok, and Instagram.
You save time, maintain your privacy, and still create content that sounds personal. If voice recording has been a hindrance, this feature could be the solution you’ve been looking for.
Text-to-Speech AI for Everyday Vlog Voiceovers
Doing voiceovers sounds difficult when you don’t enjoy talking in front of a camera. With the CapCut PC text-to-speech feature, you do not have to speak at all.
This is good news if you are shy or would prefer to remain anonymous. It also saves the day if you’re somewhere noisy or don’t have a microphone.
You can type out your script, and the feature will convert it into neat audio. You can even select from numerous voices and languages. So, you can produce more vlogs within a shorter time.
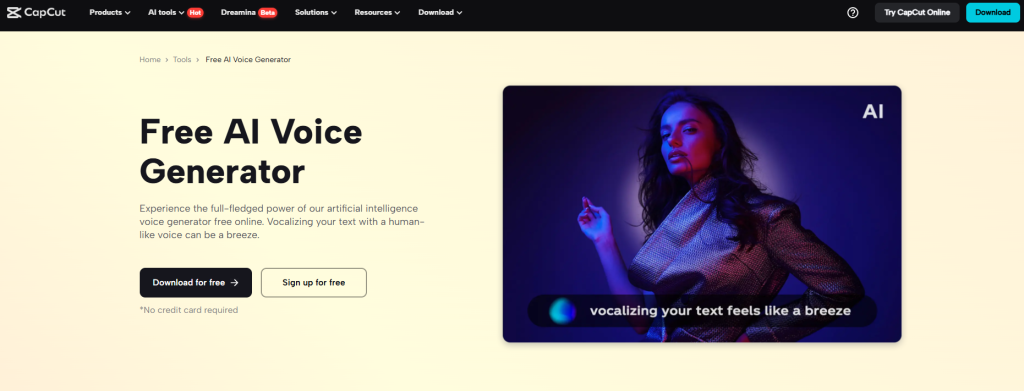
The voice is clear and assists in narrating your story. CapCut PC also offers support for realistic audio with an AI voice generator. Remember, the CapCut desktop video editor is not entirely free; you might have to pay for some features.
Advantages of Utilizing CapCut PC’s AI Voiceover Feature
CapCut desktop video editor allows you to easily add voiceovers without a mic or a quiet space. This comes in handy when recording conditions are subpar. You simply pen your script and select from natural, clear voices. You can select a voice based on gender, tone, or accent to suit your vlog’s atmosphere.
It also assists you in maintaining the same tone on lots of videos, which is perfect if you are uploading frequently. You can select various languages, so your material can reach everyone across the globe.
The tool allows you to change pitch, speed, and pauses, so the audio remains more natural. Even if you have no experience in editing, the outcome still sounds smooth and clear.
This software allows you to work quickly and avoid the expense of hiring voice talent. Both money and time are saved. If you also desire that your videos appear more professional, software like an AI video upscaler can be paired with CapCut PC in order to enhance your video.
Simply be aware that certain voice styles will require a paid upgrade within the CapCut PC desktop video editing program.
Why Vloggers Ought to Utilize AI Voiceovers For Lifestyle Vlogs
Lifestyle vlogs feel authentic and effortless, so a warm or soft voice would be suitable. You can insert that voice without having to record yourself using CapCut PC’s text-to-speech feature.
This allows you to remain off-camera and concentrate on your shots. A brief script also assists you in narrating your story more smoothly and with less stress.
If you upload every day, this tool prevents you from straining your voice or forgetting to upload. It also suits travel vlogs, clips of your daily life, or even a morning routine vlog.
You can mold the voice to your liking and the tone or mood of your vlog. Combined with text to speech AI tools that sound natural, your content flows like silk and keeps your audience engaged. It’s a clever method to establish your style without having to say a single word.
Steps to Utilize CapCut PC’s Text-to-Speech Voiceover
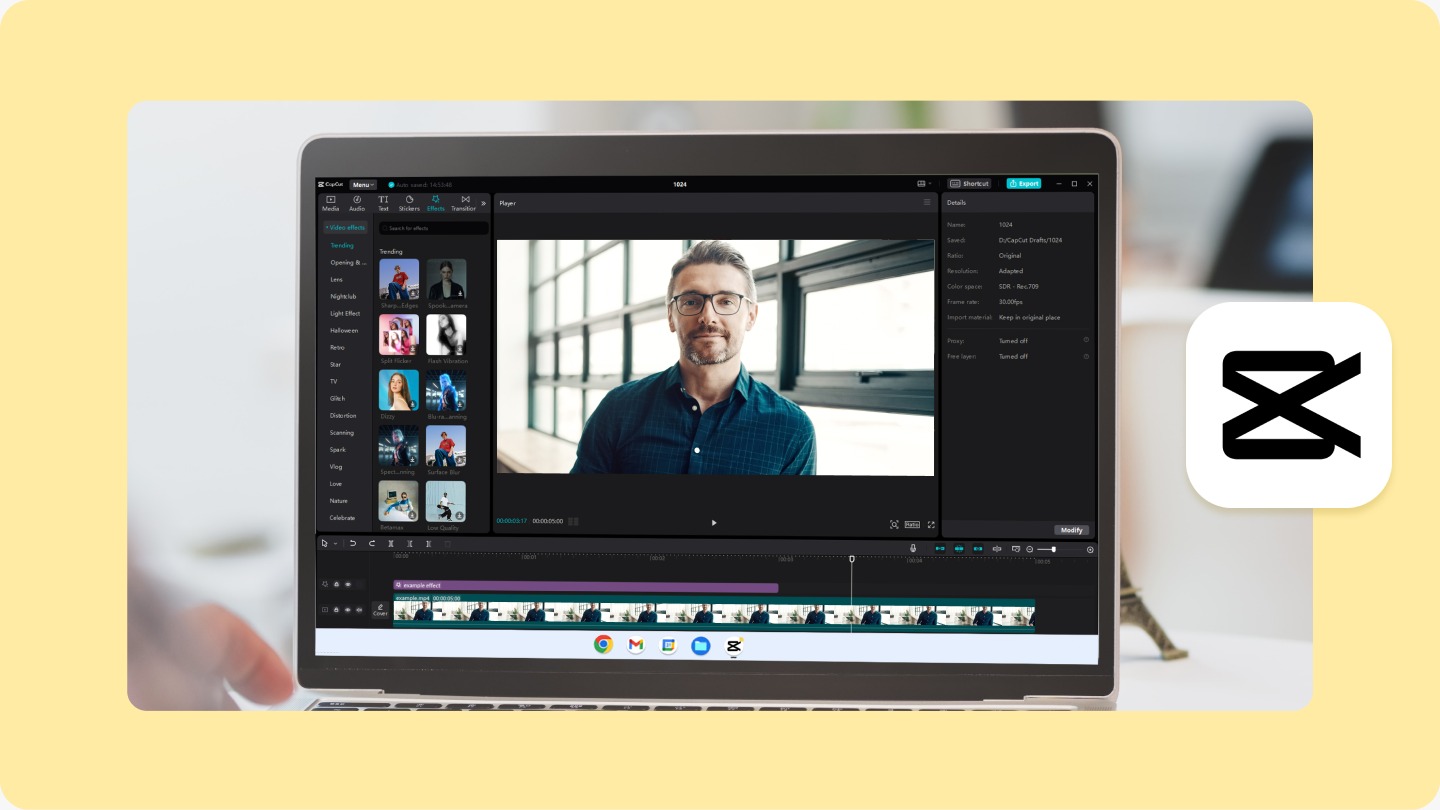
Step 1: Download and Install CapCut Desktop Video Editor
Visit the CapCut official website. Click on the download button to obtain the CapCut PC version for your computer. Install the editor and register using your email. Note that, though the tool is free to use, some premium features will require payment.

Step 2: Import Your Vlog Footage and Write a Script
Open CapCut PC and press the “+ New Project” button. Press “Import” to place your vlog clips in the timeline. Prepare your voiceover script and write it down.
Step 3: Generate Voiceover with AI Text to Speech
Press the “Text” panel and proceed to the “Text to Speech” tab. Paste your script into the text area. Choose your voice type, tone, and language from the dropdown menu. Pitch or speed adjust if necessary. Press the “Generate” button and inspect your voiceover before using it.
Step 4: Sync and Edit the Voiceover
Drag the audio to sync with the visuals in your timeline. Trim or divide clips if it doesn’t sound right. Insert music from the library to make it smooth.
Step 5: Export and Share
Go to the top right and click “Export”. Choose your resolution and frame rate. Save the finished video and post it on your social page or vlog channel.
Conclusion
If you want a quick and simple solution to adding voice to vlogs, the CapCut desktop video editor is here to help. Its text-to-speech feature provides you with crisp and natural voiceovers without the need for a mic or recording studio.
It’s ideal for creators who don’t have time and prefer simplicity. You can remain off camera yet present your story. Some of the voice options might require you to pay, yet a lot of the features come free of charge.
Begin working on your next daily vlog with CapCut PC and experience how seamless your process can be.